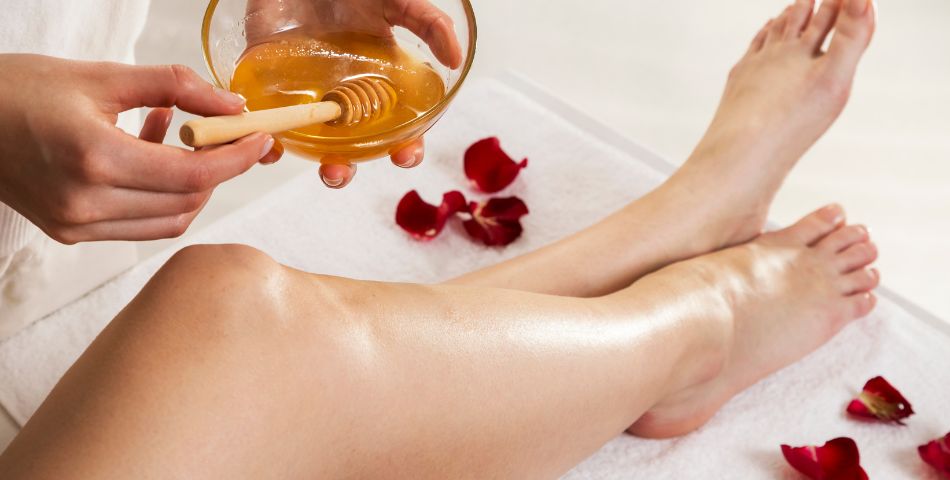
The Ultimate Guide to Pre-Waxing Care
Master the art of preparation for flawless, long-lasting waxing results with professional techniques and tips.
Read MoreProfessional tips to maximize the longevity and beauty of your lash extensions
Congratulations on your beautiful new lash extensions! You've made an investment in your confidence and daily routine, and with proper aftercare, your lashes can look stunning for weeks. The first 24-48 hours are crucial for ensuring optimal retention and longevity.
Professional lash extensions are a commitment that extends beyond your appointment. The way you care for them directly impacts how long they last, how full they remain, and how healthy your natural lashes stay underneath. Let's explore the essential aftercare practices that will keep your lashes looking flawless.
The initial curing period is essential for proper bond formation between your natural lashes and extensions. During this time, the adhesive is still setting, making your lashes vulnerable to premature shedding if exposed to moisture or pressure.
Avoid all moisture, steam, and excessive heat for the first 24 hours. This includes showers, saunas, steam rooms, swimming, and even crying. The adhesive needs this time to fully cure for maximum retention.
Many clients mistakenly avoid cleaning their lash extensions, fearing they'll cause premature shedding. In reality, proper cleansing is essential for lash health and retention. Oil buildup and debris can actually weaken the adhesive bond and create an environment for bacteria growth.
Use a lash-safe, oil-free cleanser. Avoid anything containing glycols, oils, or strong surfactants that can break down the adhesive.
Gently apply cleanser to damp lashes using downward motions. Never rub side to side, as this can tangle and pull extensions.
Rinse with lukewarm water, ensuring all cleanser is removed. Residue can cause irritation and affect adhesive performance.
Pat dry with a clean, lint-free towel. Never rub or pull on the lashes during the drying process.
Use a clean spoolie brush to gently separate and shape lashes once completely dry. This maintains their appearance and prevents tangling.
Your sleeping position significantly impacts lash retention. While it takes some adjustment, protecting your lashes overnight ensures they stay beautiful longer and maintains the health of your natural lashes.
You can still wear makeup with lash extensions, but product selection and application techniques require some adjustments. The key is choosing formulations that won't compromise the adhesive bond.
With proper lash extensions, you typically won't need mascara at all. The extensions provide length, volume, and curl naturally, simplifying your daily routine.
Regular fill appointments are essential for maintaining full, beautiful lashes. Natural lash shedding is completely normal - we lose 1-5 lashes per day as part of the natural growth cycle. Fills replace the extensions that have shed with new natural lash growth.
Watch for these indicators that it's time for a fill appointment or professional assessment:
Even with perfect aftercare, you might experience some challenges. Here's how to address common concerns:
If you're losing extensions faster than expected, evaluate your aftercare routine. Common culprits include oil exposure, rough handling, or sleeping position. Hormonal changes and medications can also affect retention.
Daily brushing with a clean spoolie prevents most tangling issues. If lashes become twisted, avoid trying to fix them yourself - this is best handled during your fill appointment.
Mild irritation immediately after application is normal and usually subsides within 24 hours. Persistent discomfort, redness, or swelling should be addressed by your lash technician immediately.
Maintain your gorgeous lashes with regular fill appointments. Our experienced technicians will keep your lashes looking full and beautiful between visits.